Flutes into Voices with Granular Synthesis
Transforming standard flute samples into lush, undulating vocal textures using Arturia Pigments.
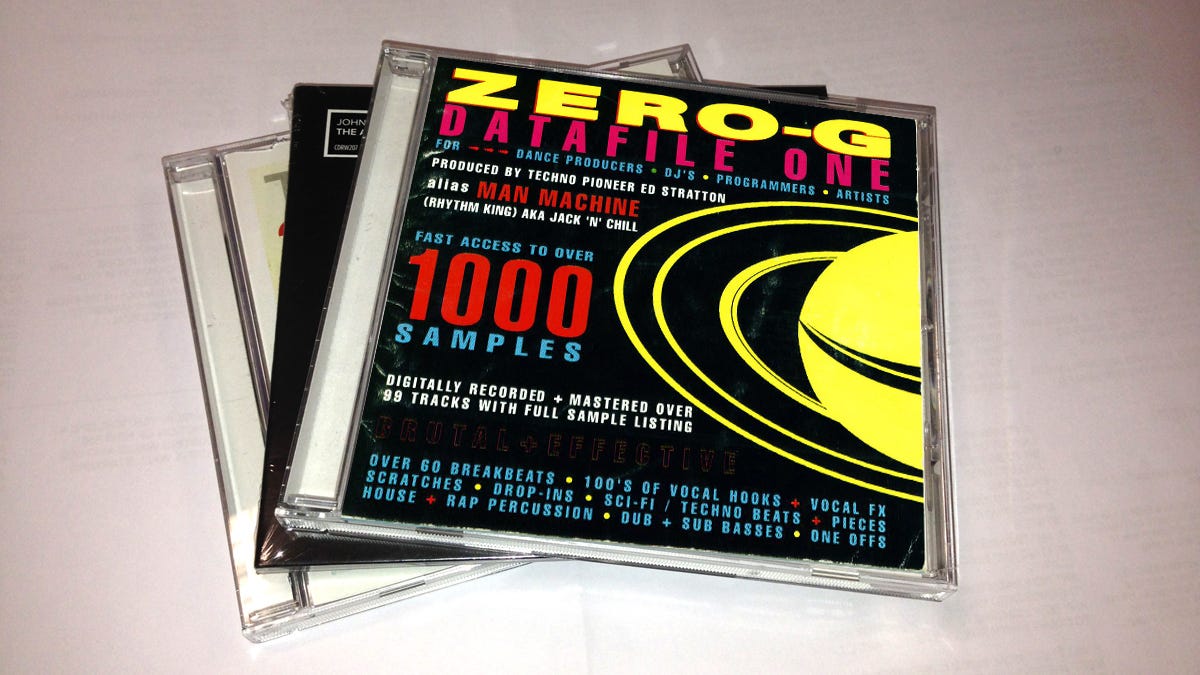
Almost as ubiquitous and integral to 90s dance music as the Amen Break, the renegade sample pack Zero G Datafiles Vol. 1 quickly became the reflexive source of breakbeats, bass, and vocal samples for dabbling producers.
A flute sample from this pack, which initally didn’t catch my ear, forms the basis of this sound:
Step 1:
Let’s load up Ableton.
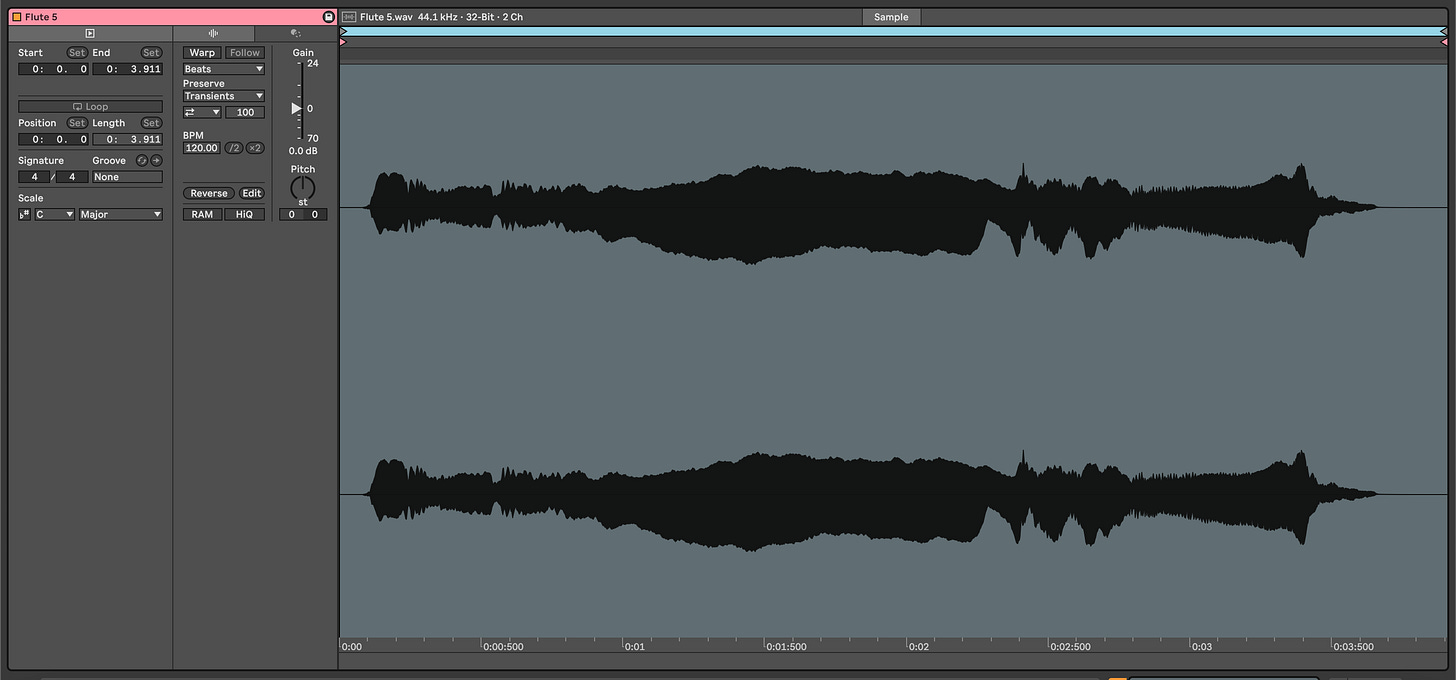
The sound itself is in G, here’s it displayed visually in the clip view:
Step 2:
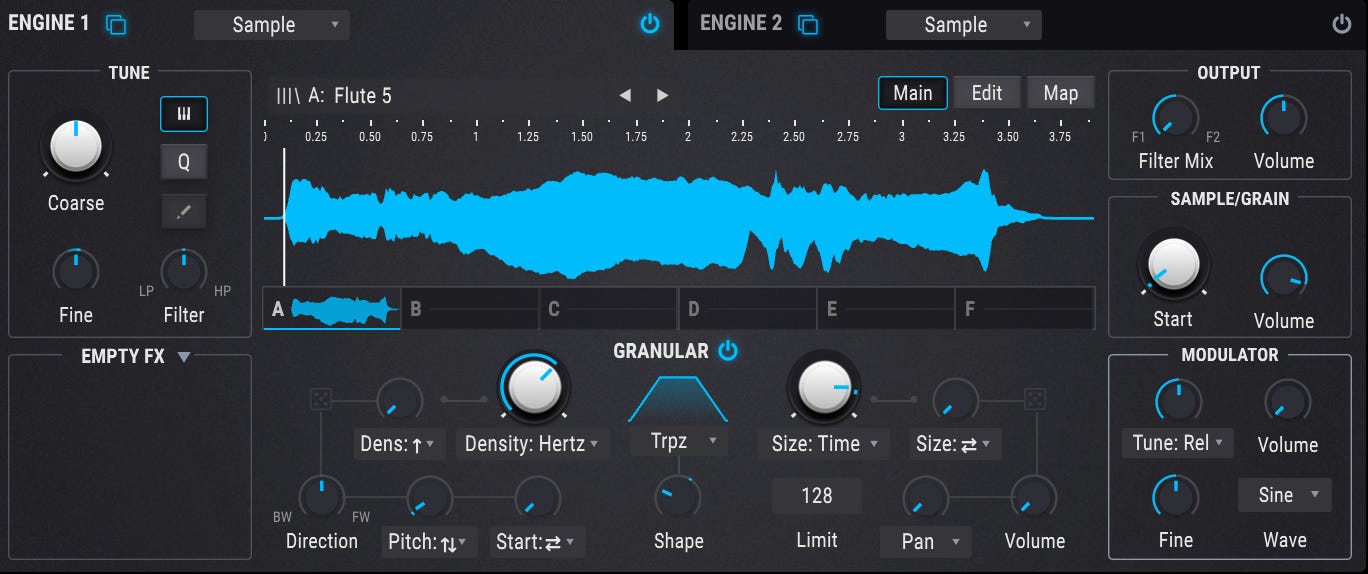
I’m going to use Arturia Pigments as our host for our granular synthesis. Make sure you come equipped. Let’s initialise a new patch and load our sound into the sample engine.
We’re going to want to enable the granular effect. Hit the ‘on’ button and we’ll dial in the parameters. We’re going with a trapezoidal envelope shape, a density of 32.8 Hz, 479 ms slice time, and a shape of 0.260.
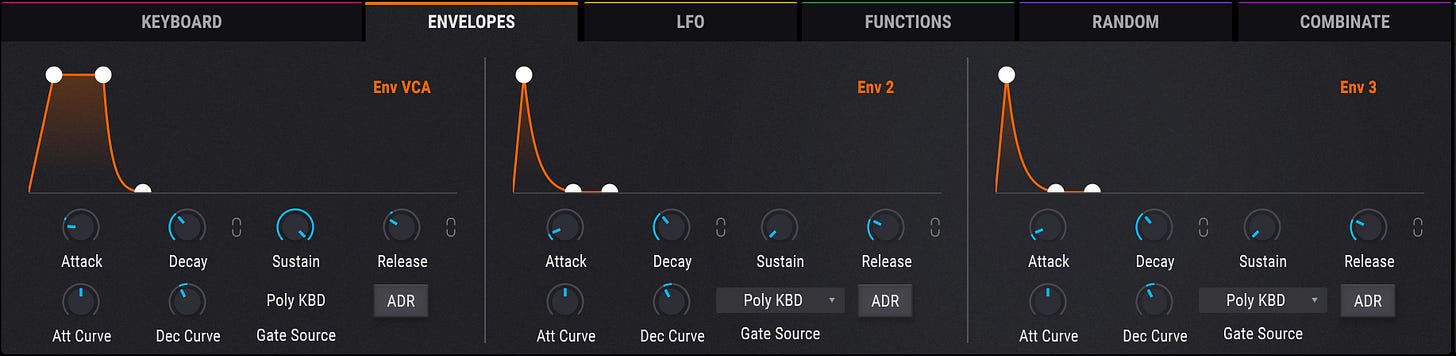
Our envelopes are going to remain relatively static and unchanged. Just ensure the Env VCA sustain is kept high.
For our filters, let’s set Filter 1 to MultiMode and Notch12 (we’ll also ensure that the Engine 1 filter mix is set to 100% Filter 1). Filter Cutoff, we’ll dial to 368 Hz, Resonance to 0.264, KBD to 0.984.
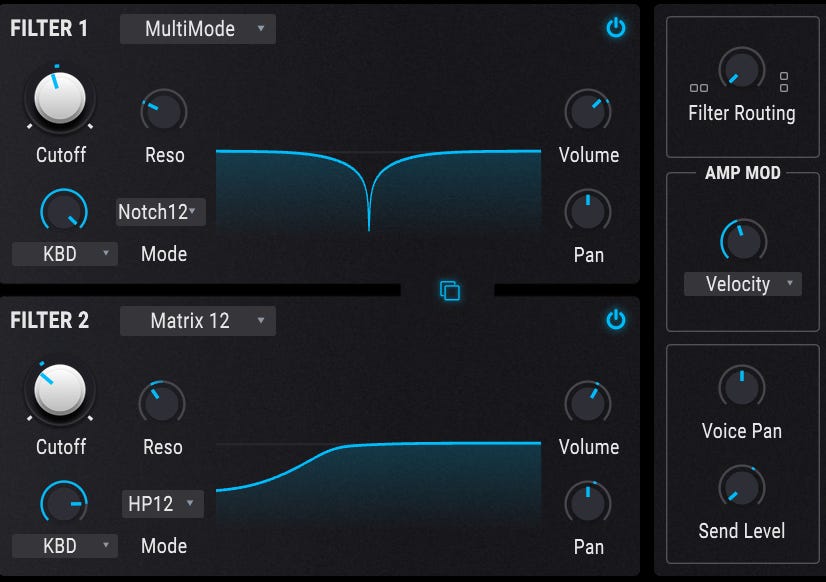
Play a note, and by now, we should have something like this:
Step 3:
This sound is interesting but static; relatively unmoving and quickly tiring. Let’s add some movement.
We’ll get a stock LFO configured to the Sample 1 Start. Hit Remote, Sine wave, fix Rate to 8 bars, Depth to 74%, and Offset to -22%.
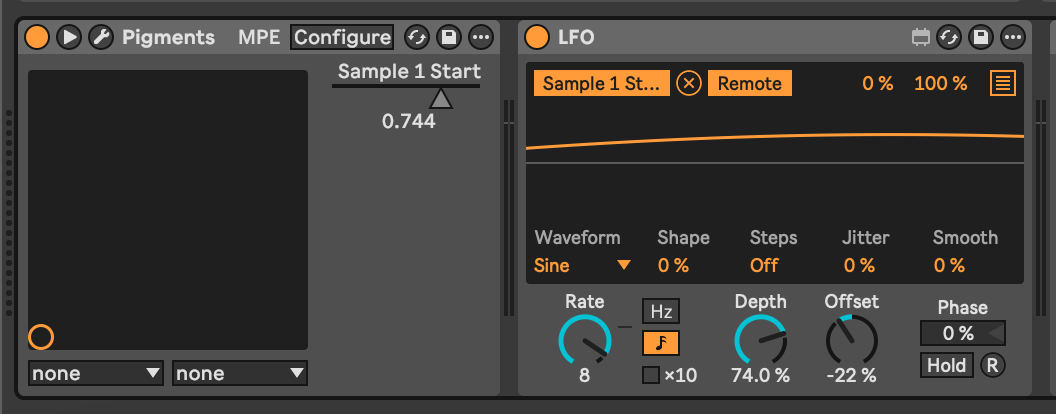
Now our granular synthesis engine will scan back and forth over the sample, sprinkling shimmering grains of sound along its path, creating an unduating vocal effect. Much more interesting:
Step 4:
We can still go further with this, right?
Engage a Pigments LFO to 24.4% Sine, 75.6% Triangle. Symmetry to 0.692, a Rate of 0.609 Hz, and Fade 0.337.
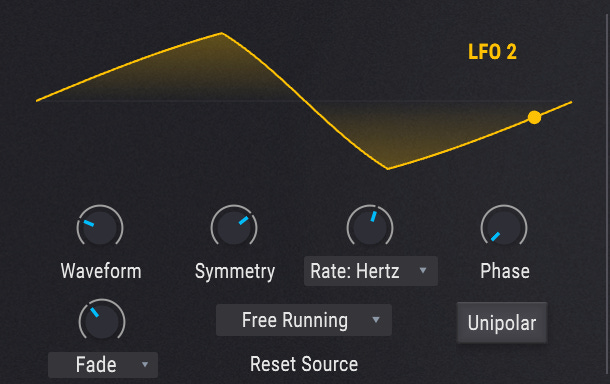
We’ll use this source to modulate our Engine 1 Fine tune by a degree of 0.08:
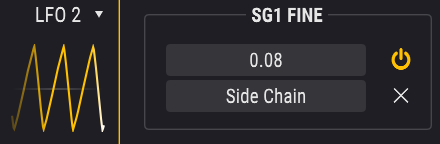
Next, we’ll spin up another LFO set to a Sine wave, 0.500 Symmetry, 0.446 Hz, 100% KeyTrack:
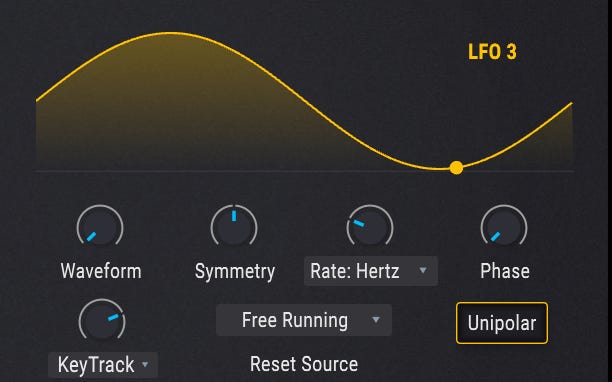
This will modulate our Filter 1 and LFO 2 rate by 0.02 and 0.08 respectively.

Step 5:
Time to add some effects. The goal with this is to add some blurring and smudging to the sound. I used a combination of Multi Filter, Chorus, and light compression on the FX busses, and some light Reverb and Tape Echo on the Send bus.
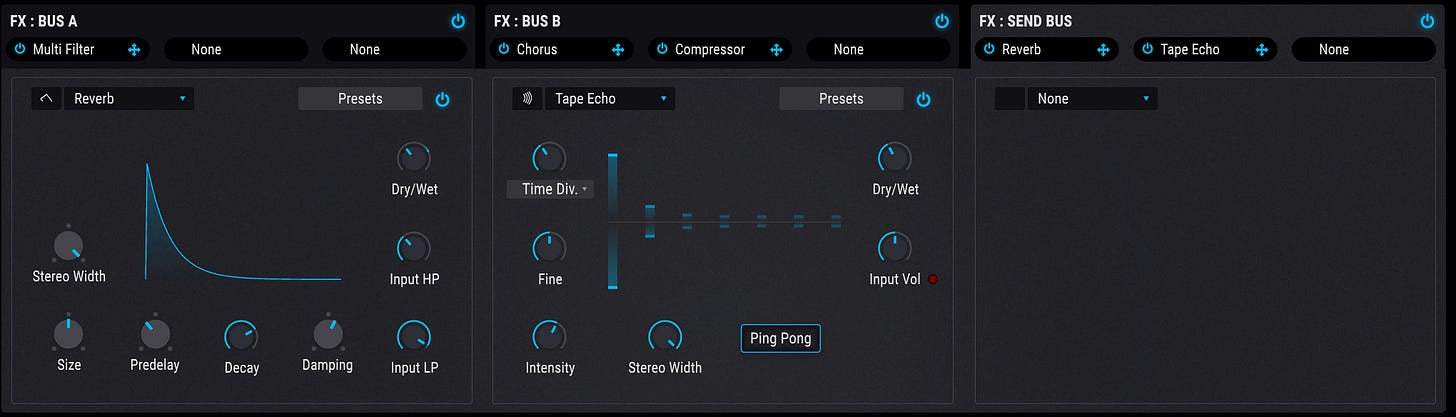
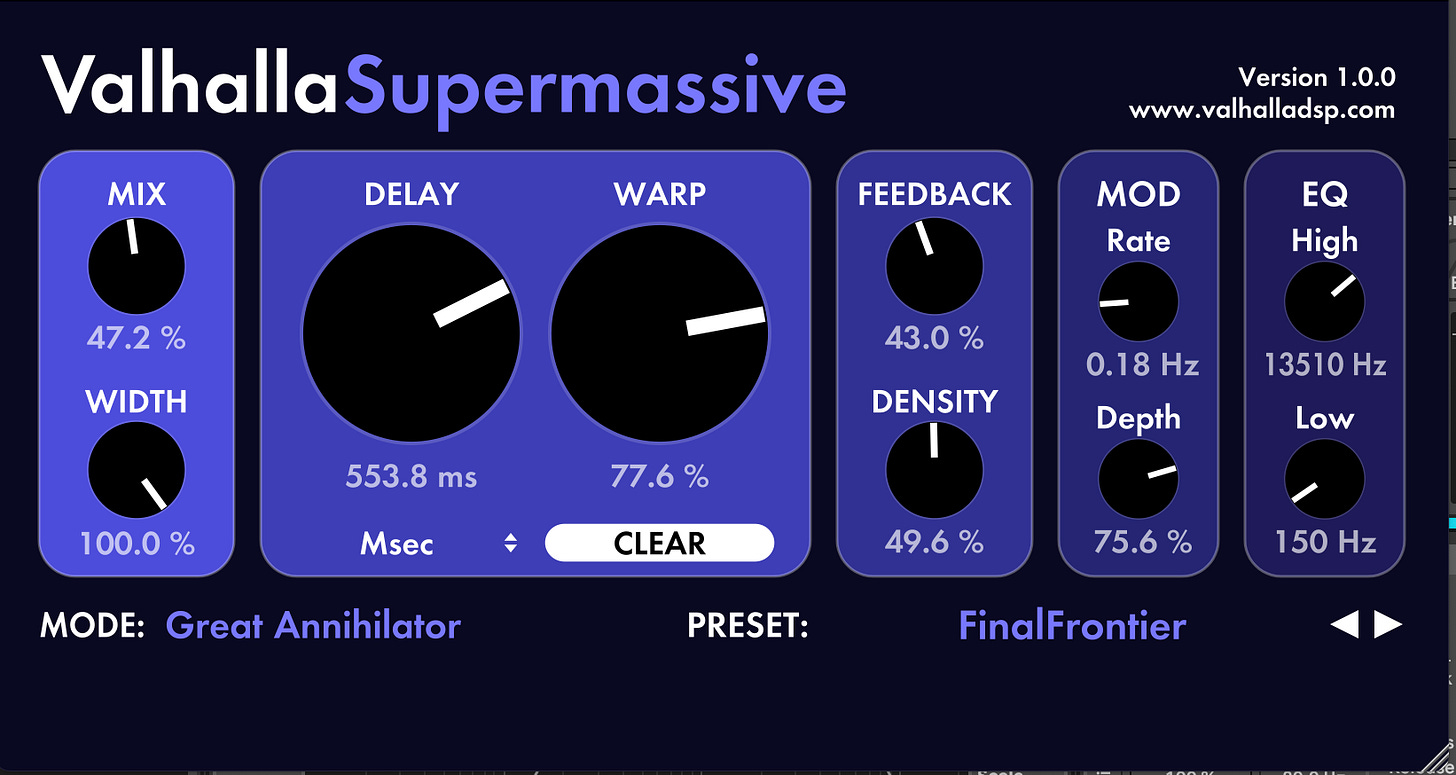
I topped this off with a huge reverb from Valhalla Supermassive, FinalFrontier set to 47% mix and 43% feedback.
Step 6:
Let’s listen to our final result:
We can spice this up with a drum beat and other elements:
I’ve repeated this technique to similar effect to a few different flute samples: